

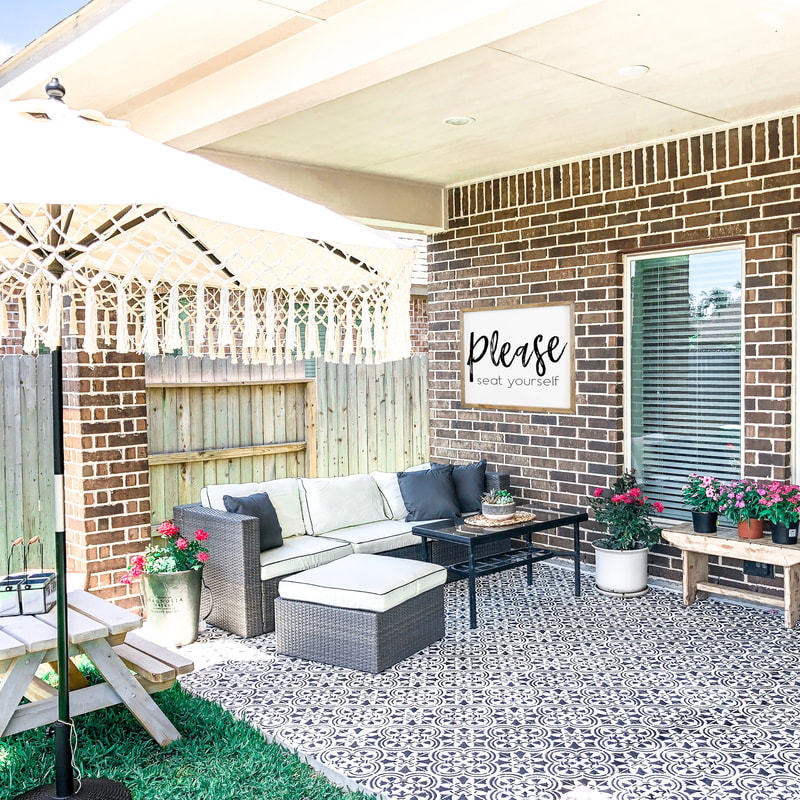
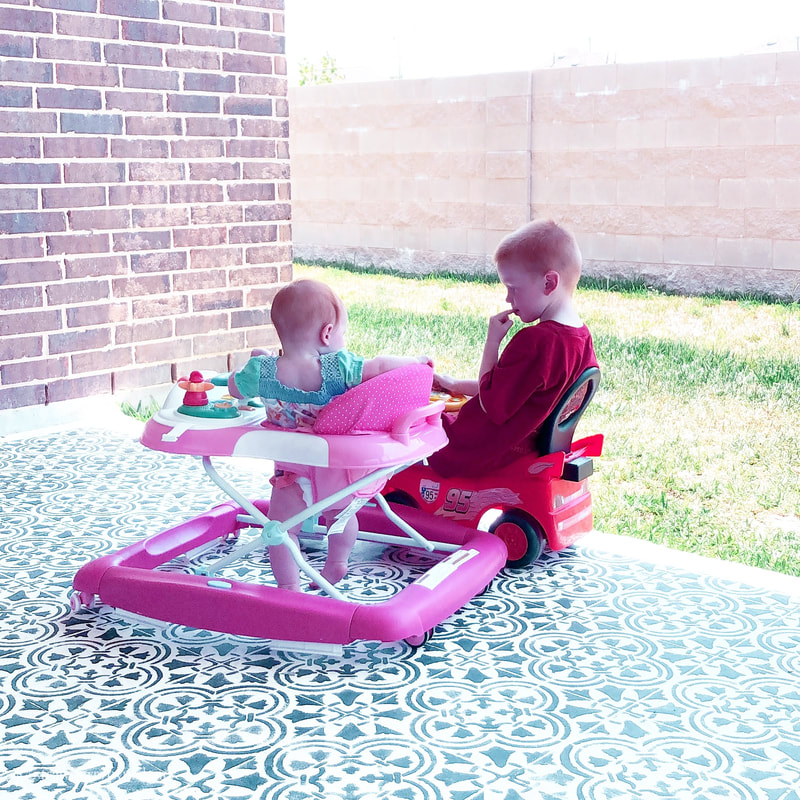
The long awaited post about our patio stencil project is way over due. We have been so busy with kids that I am just now seeing the time to stop and share all of the details with you. While this post has taken its time, we have enjoyed the transition of our patio dreams.

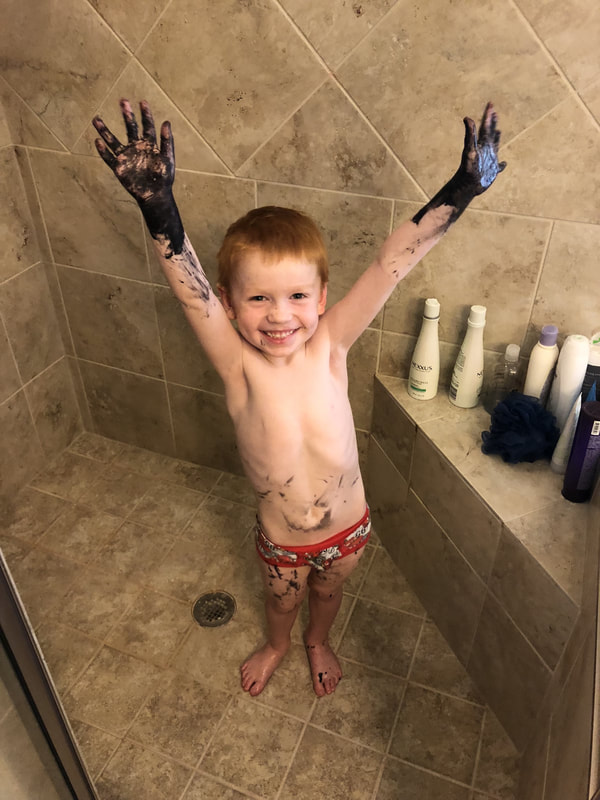
Now, I will say this project did not come without it's challenges. Jaxon decided to add his mark to the project, so we had to start over. And, the foam roller we bought simply wasn't the best one, so we ended up sponging the entire thing. With that said, the project is basically complete, and our morning coffees will never be the same. The space is simply magical to us, and it is a blessing to enjoy the example of our team work together.
Tutorial:
In this tutorial you will learn the basics of creating your own patio stencil dreams.
Supplies:
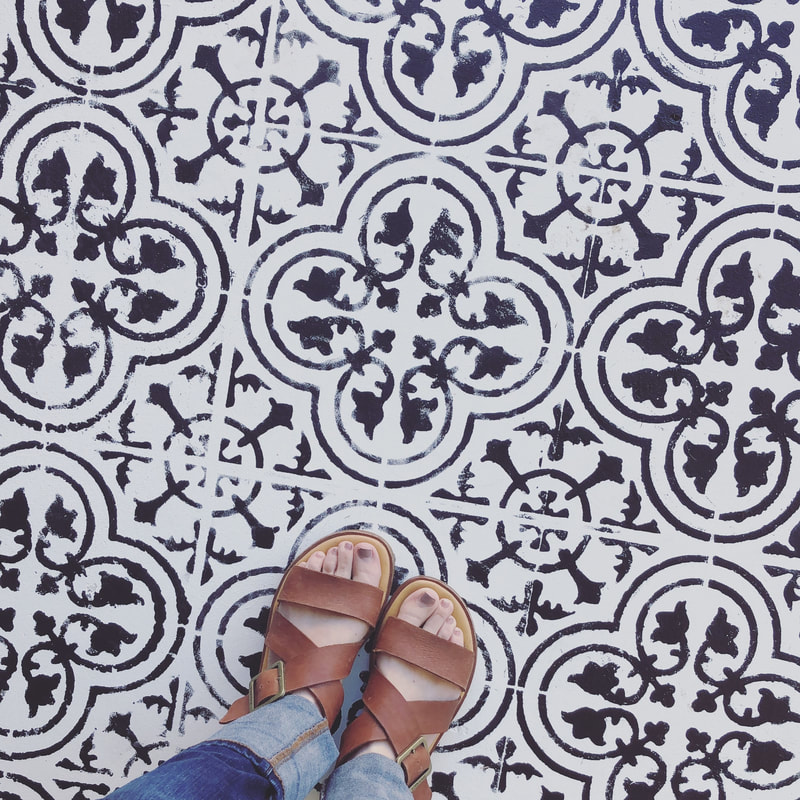
Once you have Mr. Cleaned your patio next is setting your primer. The one linked about is what we used. It is a bright white that really enhances our stencil. We completed this step as if we were painting a wall. Super easy! Let this dry. Now, it is time to stencil. Find the best location for you. Work left from right or up to down. When you are stenciling something like concrete, you don't have tile to line up with, so you are the line. Use painters tape to help hold your stencil. Use the foam roller to start your process. Light strokes! Take your time to get the hang of it. You can use the sponge brushes to get in the nicks and crannies if needed. This is also where YOU DO YOU. This is outside, so have fun! It does not have to be perfect. (Trust me, ours definitely isn't) Once you have completed your stencils, primer that sucker! If you desire... We did not (womp womp) Finally, decorate, pour some coffee (or wine... LOL!) Enjoy! You deserve it! You can ALWAYS message me with your questions. I love to hear from my DIY friends! Also here is a video tutorial: Link 
|
Meet Mia
CategoriesAll Baby Blogger Favorites DIY In The Kitchen Sales Style 


|

 RSS Feed
